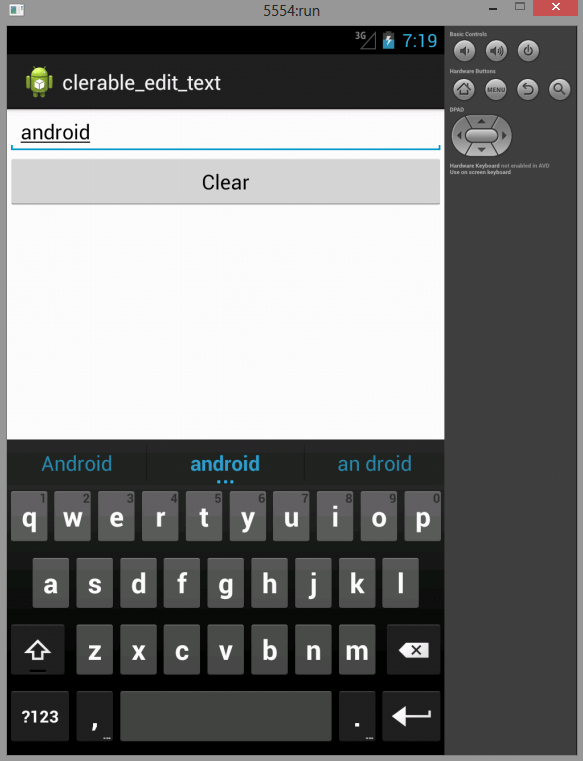
Here is source code of the Program demonstrates a Simple Compound Control using Java. The program is successfully compiled and run on a Windows system using Eclipse Ide. The program output is also shown below.
Compound controls are atomic, self-contained View Groups that contain multiple child Views laid out and connected together. When you create a compound control, you define the layout, appearance, and interaction of the Views it contains. You create compound controls by extending a ViewGroup (usually a layout). To create a new compound control, choose the layout class that’s most suitable for positioning the child controls and extend it.
Main Activity
package com.example.clerable_edit_text;

import android.os.Bundle;
import android.app.Activity;
import android.util.Log;
import android.view.Menu;

public class MainActivity extends Activity {

    @Override
    protected void onCreate(Bundle savedInstanceState) {
        super.onCreate(savedInstanceState);
        setContentView(new Clearable_Edit_Text(this));
        Log.v("oncreate()", "finished");
    }

    @Override
    public boolean onCreateOptionsMenu(Menu menu) {
        // Inflate the menu; this adds items to the action bar if it is present.
        getMenuInflater().inflate(R.menu.main, menu);
        return true;
    }

}
Clearable Edit Text
package com.example.clerable_edit_text;

import android.content.Context;
import android.util.Log;
import android.view.LayoutInflater;
import android.view.View;
import android.widget.Button;
import android.widget.EditText;
import android.widget.LinearLayout;

public class Clearable_Edit_Text extends LinearLayout {

    // Define the elements or the child controls of our compound view
    private EditText edittext;
    private Button clear_buuton;

    public Clearable_Edit_Text(Context context) {
        super(context);
        // TODO Auto-generated constructor stub

        String inflatorservice = Context.LAYOUT_INFLATER_SERVICE;
        LayoutInflater li;

        li = (LayoutInflater) getContext().getSystemService(inflatorservice);
        /*
         * inflate the resource R.layout.clearable_edit_text in the context of
         * this view and automatically attach to this view(true is to
         * automatically attach to this view)
         */
        li.inflate(R.layout.clerable_edit_text, this, true);

        edittext = (EditText) findViewById(R.id.Edittext);
        clear_buuton = (Button) findViewById(R.id.button1);

        hookbutton();
    }

    private void hookbutton(){

        clear_buuton.setOnClickListener(new View.OnClickListener() {

            @Override
            public void onClick(View v) {
                // TODO Auto-generated method stub
                edittext.setText("");
                Log.v("clearButton", "clicked");

            }
        });
    }
}
ClearableEdittext.xml
<?xml version="1.0" encoding="utf-8"?>
<LinearLayout xmlns:android="http://schemas.android.com/apk/res/android"
    android:layout_width="match_parent"
    android:layout_height="match_parent"
    android:orientation="vertical" >

    <EditText
        android:id="@+id/Edittext"
        android:layout_width="fill_parent"
        android:layout_height="wrap_content"
        >
    </EditText>

    <Button
        android:id="@+id/button1"
        android:layout_width="match_parent"
        android:layout_height="wrap_content"
        android:text="Clear" />

</LinearLayout>
Sanfoundry Global Education & Learning Series – 100+ Java Android Tutorials.
- Check Java Books
- Practice Information Technology MCQs
- Practice BCA MCQs
- Apply for Java Internship
- Check Programming Books