Here is source code of the Program to Define a Style and Apply to a View in Android using java. The program is successfully compiled and run on a Windows system using Eclipse Ide. The program output is also shown below.
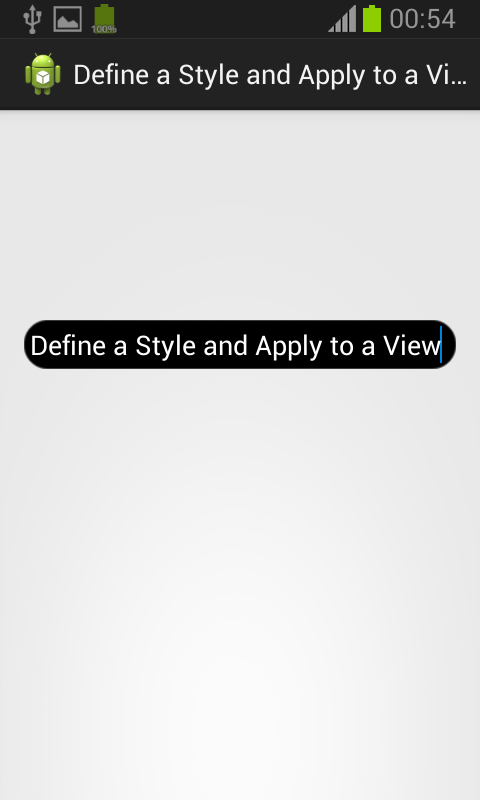
In order to Define a Style and Apply to a View i have defined a style for my text view in /res/drawable folder with name mystyle and applied this as a background to my Edittextview , the following code demonstrates this.
Main Activity
package com.example.text_view_rounded;

import android.os.Bundle;
import android.app.Activity;
import android.view.Menu;

public class MainActivity extends Activity {

    @Override
    protected void onCreate(Bundle savedInstanceState) {
        super.onCreate(savedInstanceState);
        setContentView(R.layout.activity_main);
    }

    @Override
    public boolean onCreateOptionsMenu(Menu menu) {
        // Inflate the menu; this adds items to the action bar if it is present.
        getMenuInflater().inflate(R.menu.main, menu);
        return true;
    }

}
mystyle
<?xml version="1.0" encoding="utf-8"?>
<selector xmlns:android="http://schemas.android.com/apk/res/android">

    <item android:state_focused="true" android:state_pressed="true"><shape>
            <stroke android:width="2.3dp" android:color="#a7bf42" />

            <corners android:radius="10dp" />
        </shape></item>
    <item android:state_focused="false" android:state_pressed="true"><shape>
            <stroke android:width="2.3dp" android:color="#a7bf42" />

            <corners android:radius="10dp" />
        </shape></item>
    <item android:state_focused="true" android:state_pressed="false"><shape>
            <stroke android:width="0.7dp" android:color="#000000" />

            <corners android:radius="15dp" />
        </shape></item>
    <item android:state_focused="false" android:state_pressed="false"><shape>
            <gradient android:angle="270" android:centerColor="#F6EBC9" android:endColor="#a7bf42" android:startColor="#a7bf42" />

            <stroke android:width="0.7dp" android:color="#000000" />

            <corners android:radius="15dp" />
        </shape></item>
    <item android:state_enabled="true"><shape>
            <padding android:bottom="4dp" android:left="4dp" android:right="4dp" android:top="4dp" />
        </shape></item>

</selector>
Activity_Main
advertisement
advertisement
<RelativeLayout xmlns:android="http://schemas.android.com/apk/res/android"
    xmlns:tools="http://schemas.android.com/tools"
    android:layout_width="match_parent"
    android:layout_height="match_parent"
    android:paddingBottom="@dimen/activity_vertical_margin"
    android:paddingLeft="@dimen/activity_horizontal_margin"
    android:paddingRight="@dimen/activity_horizontal_margin"
    android:paddingTop="@dimen/activity_vertical_margin"
    tools:context=".MainActivity" >

    <EditText
        android:id="@+id/editText1"
        android:layout_width="wrap_content"
        android:layout_height="wrap_content"
        android:layout_alignParentLeft="true"
        android:layout_alignParentRight="true"
        android:layout_alignParentTop="true"
        android:layout_marginTop="124dp"
        android:ems="10"
        android:background="@drawable/mystyle"
        android:text="Define a Style and Apply to a View">

        <requestFocus />
    </EditText>

</RelativeLayout>
Sanfoundry Global Education & Learning Series – 100+ Java Android Tutorials.
If you wish to look at all Tutorials, go to Java Android Tutorials.
If you find any mistake above, kindly email to [email protected]Related Posts:
- Apply for Computer Science Internship
- Check Java Books
- Practice Programming MCQs
- Apply for Java Internship
- Check Programming Books